No products
Prices are Management included
The Enix® Closure is a simple and yet very effective closure when adjusting our sandals, but sometimes it can be complex if we have never had other sandals of this type. To facilitate the task and to get a perfect fit regardless of your experience, we have created this little tutorial with photos.
How to adjust the Enix minimalist sandals
Preliminary Information: It is very important to note that the velcro closure on the outside of the foot (that of the short velcro section) only carries velcro to be able to disassemble the straps (to wash, for example). It is not an adjustment element and therefore NOT TO BE RELEASED at any time. The only velcro we will release and tighten will be the long stretch that corresponds to the inside of the foot. Whenever we pull the ribbons through the side pins, WE SHOULD RETAIN LIGHTLY THE HEEL, so as not to force the sides of the sandals and to pass the straps without jerks and gently
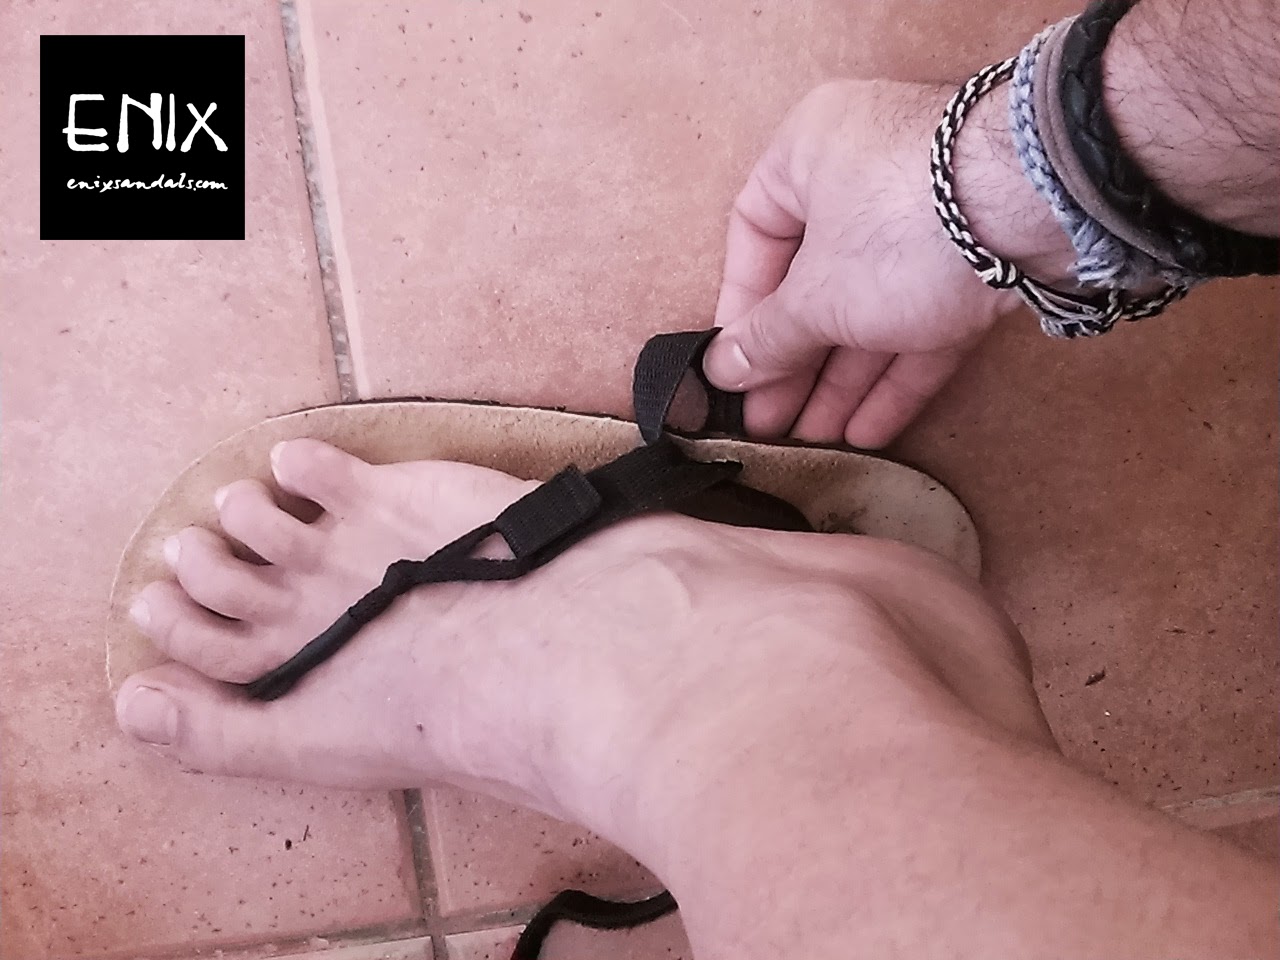
1.- The first step when receiving our sandals is to release the long velcro and loosen the straps of the pins. We will place the foot in position, leaving the same space for the front as for the back, regardless of where the cord is located between the fingers. Although obvious, this step of placing the foot correctly on the sandal is very important. Adjust the first section (short outer velcro + cord) by trimming its length, pulling the straps through the pin until the section is tight but not excessively.

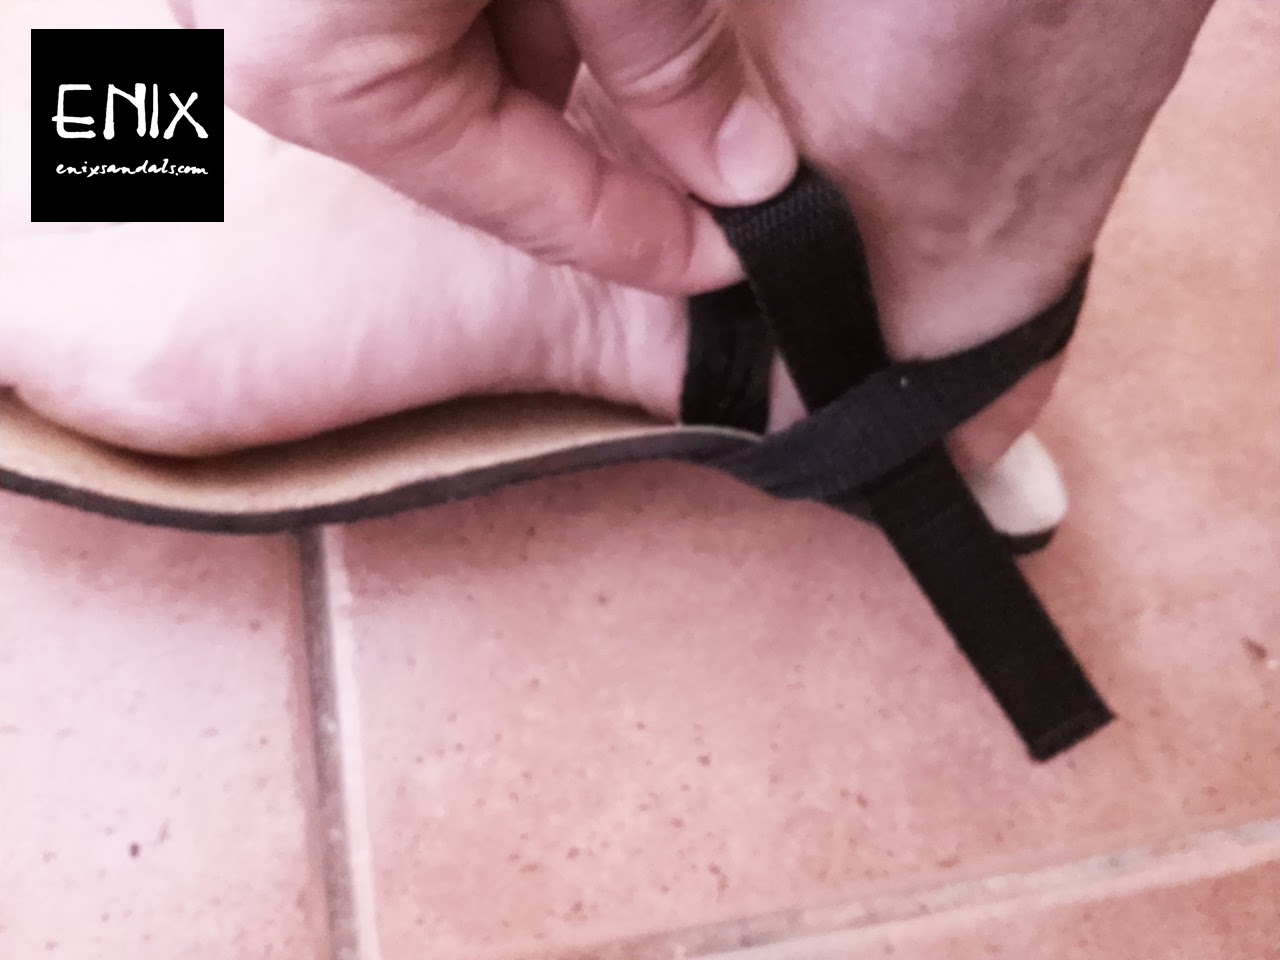
2.- We will adjust the rear section in the same way, gently pulling the strap through the pin inside the foot, until we notice that the heel strap is tight.

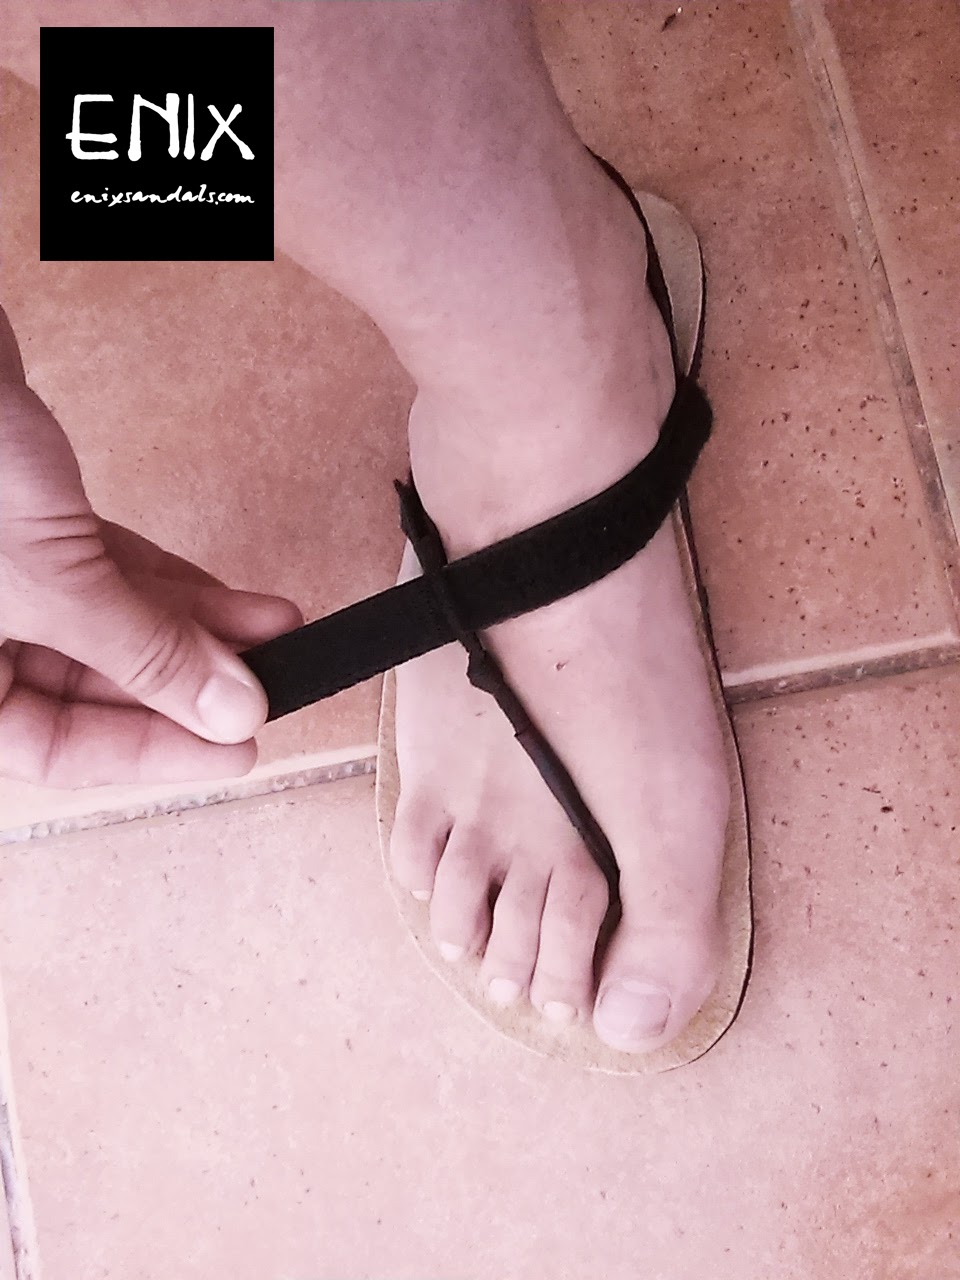
3.- The third section is tightened by the long velcro. We passed the strap inside of the cord button and we tension until obtaining the desired fixation.

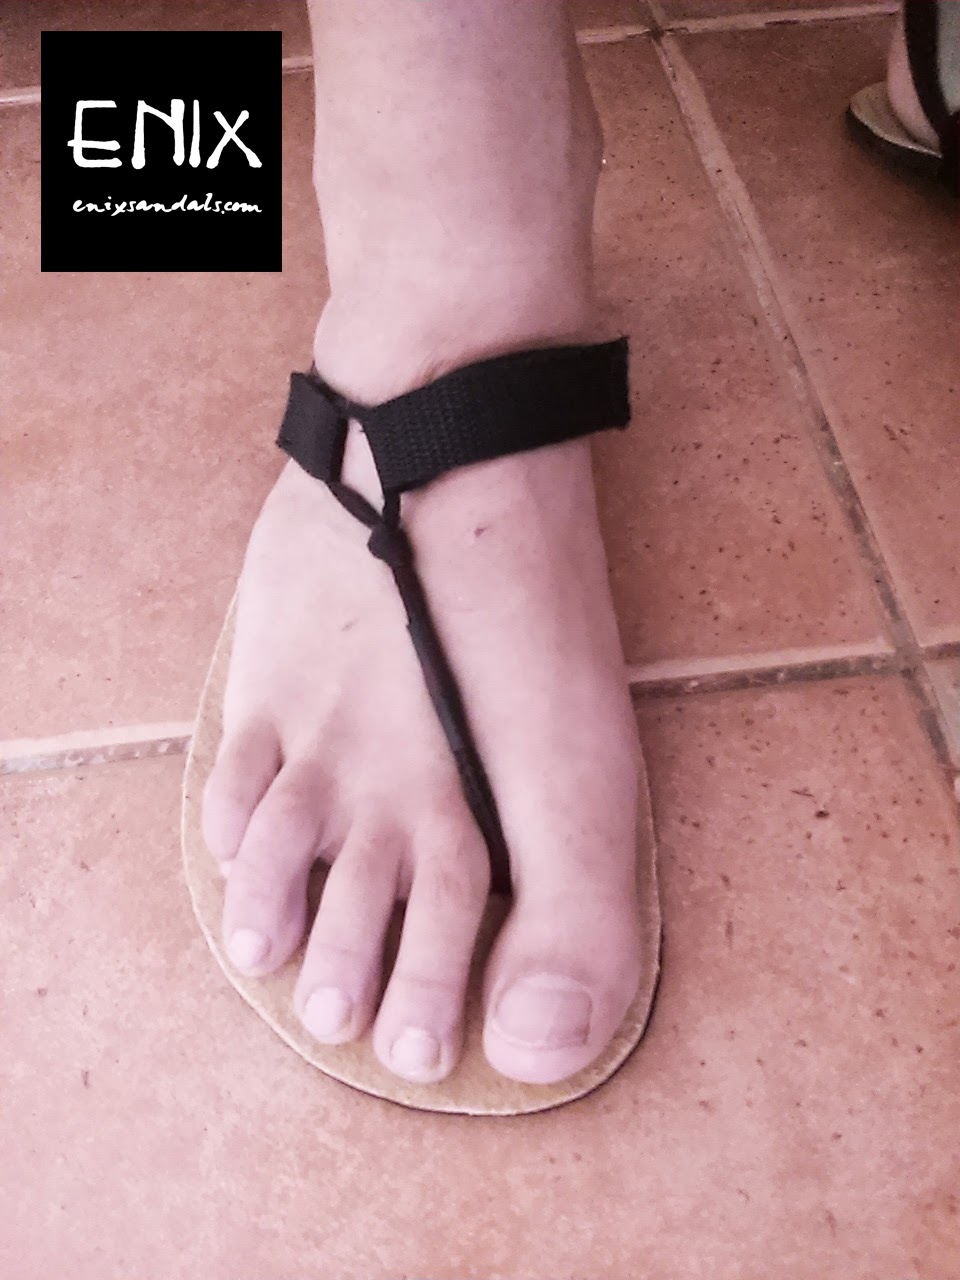
4.- Finally, the closure should be as in the picture, with the strap section facing slightly towards the outside of the foot. If the stretch of cord, once the third leg has been tightened, points straight down towards the center of the ankle, the front of the foot will be loose and we will have to release everything and start again by tightening the first leg, possible to the outside of the foot.

And now that you have the sandal correctly tied, REMEMBER: It is normal that the first few times we notice that the sandal is slowly releasing. This is because the tapes are yielding in the lateral crossings and therefore, the 3 sections are being released. It is important to redo the whole process to adjust them again. The sections are independent, and if we notice that the heel tape falls, we will not get anything by squeezing the long velcro. Re-tighten all the tape from the first section and you will find the perfect fit.


